Check that the site status is set to Ready and click the Edit Site Block Model Files icon.
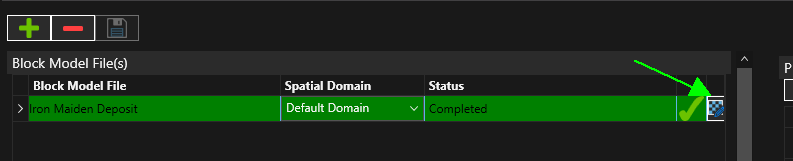
The Block Model Files screen displays.
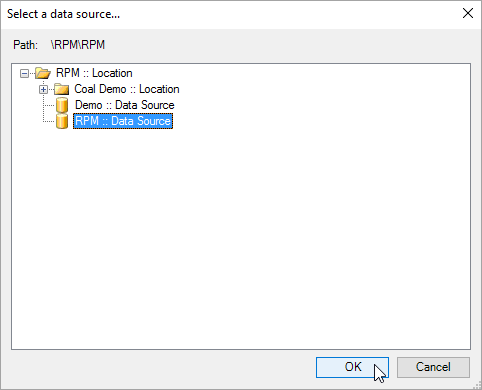
Click Add a new Block Model File  , and select a file. The supported formats for block model file import are:
-
CSV Block Model File (*.csv)
-
Datamine Block Model File (*.dm)
-
RPMGlobal Block Model File (*.bmdb)
-
Surpac Block Model File (*.mdl)
-
Vulcan Block Model File (*.bmf)
-
Whittle Res File (*.res)
The RPMGlobal block model file format (bmdb) is supported from version 2.1 of RPMGlobal RESERVER. For the block model to be imported it must have been validated within RESERVER. Check your version of RESERVER to ensure the validation step has been run.
You can import more than one file. To remove a file, select the file and click the Delete icon.
Select the Spatial Domain that the block model will be loaded into (if configured). The Default Domainis selected by default.
Principal Field Mappings, panel on right hand side of screen
Map the Principal Fields (Code column) to the Block Model Field (column) by clicking the fxcell. All principal fields are listed; any unmapped fields will use the default value for the principal field.
Expressions may be used to create calculated block model fields, and these fields can reference other block model fields.
To assist with mapping click the Prefill mappings button in the upper left of the panel.
Copy and paste Principal Field mappings - Block model mapping configuration can be copied and pasted to and from Excel. If the site is active, the mapping configuration can only be copied. To paste values from Excel, you must first stop the site.
The Originand Rotationsections have controls for setting the rotation angle and origin, applicable to CSV formatted block models only. Other block model formats read the settings from the block model file and hence these options will be disabled.
The rotation angle setting instructs XECUTE to treat the data as rotated (clockwise degrees from north around the Z axis).
Set the coordinate system of the block model centroids to either World or Local.
World Coordinates - origin setting is disabled, rotation angle is optional.
Local Coordinates - origin is required, rotation angle is optional.
Spatial Filtering [Optional], is used to filter the block model data stored in XECUTE
-
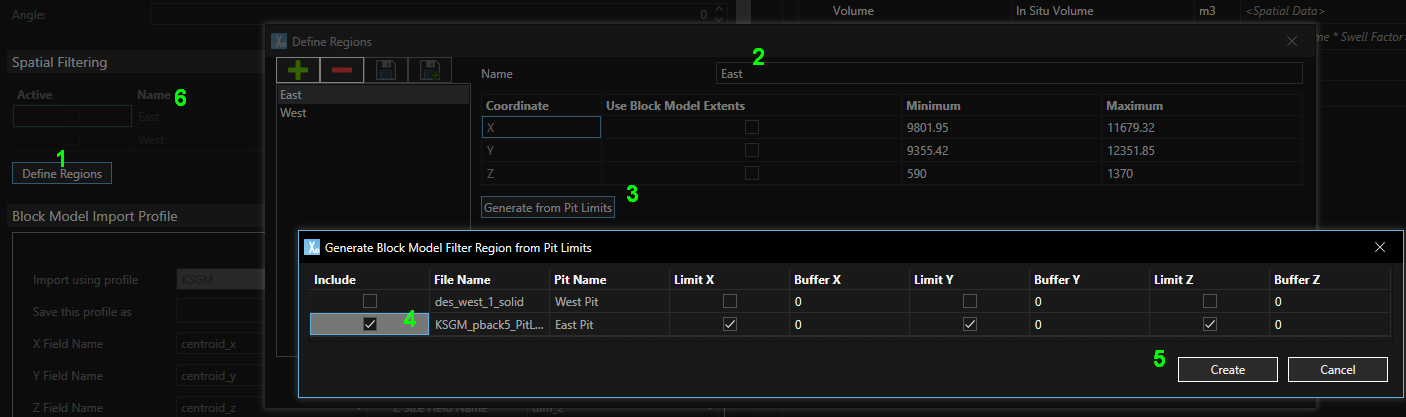
Click the Define Regions button (1) , then in the popup click
to add a new region. -
Give the region a name (2) and either enter the coordinates of the region bounds or click Generate from Pit Limits(3) to set the region extents.
-
If you click Generate from Pit Limits, in the dialog that opens, select the Pit Limits to include in the region (4).
-
Optionally restrict the dimensions to limit to and set buffers to apply to the extents.
-
Click the Create button (5) to close the dialog.
-
Save changes in the Define Regions popup. The applied filter regions are listed on the Block Models screen.
The Block Model Import Profile data maps the block definition fields to the block model field names.
The profile can be saved for later use by entering a name in 'Save this profile as' and clicking the Add button. To update the selected import profile click the Update button.
Enter the fields in the Block Model Import Profile. Ensure these XYZ centroid and size fields are set correctly, otherwise XECUTE will not function properly.
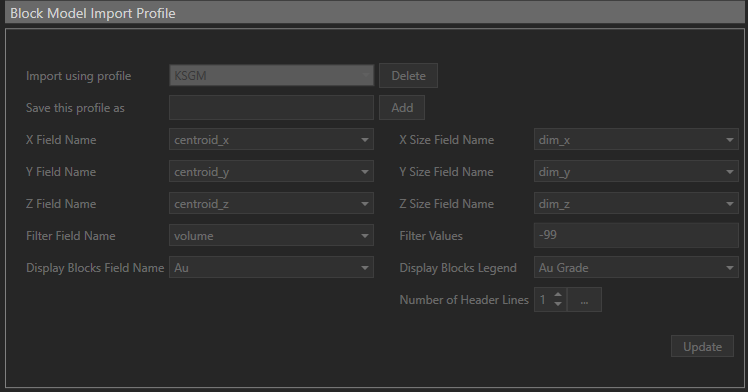
| Field | Description |
|---|---|
| X,Y,Z Field Name | The centroid of the block. |
| X,Y,Z Size Field Name | The size of the block X,Y,Z dimensions. |
| Filter Field Name | The field used to filter out unwanted portions of the block model. |
| Filter Values | If the value of the Filter Field equals this value ignore these blocks. |
| Display Blocks Field Name | The field used in the block model visualisation Legend. |
Click the Save icon at the top of screen to save configuration and import the block model data.